CHIPMUNK RESCUE · STAGE 2

Stage 2 — Immediate Stabilization & Warmth

Control heat loss and stress, establish a baseline and recognize the injuries that require urgent professional treatment before any feeding is attempted.

AT A GLANCEDo these things before moving on
WARMTHUse gentle indirect heat with room to move away from the warm side

Use gentle indirect heat with room to move away from the warm side.

QUIETUse a secure, dark, quiet container and minimize handling

Use a secure, dark, quiet container and minimize handling.

TRIAGECheck breathing, movement, injuries, parasites and responsiveness before oral care

Check breathing, movement, injuries, parasites and responsiveness before oral care.

VISUAL GUIDE

See the important points for this stage

Townsend’s Chipmunk
WARMTHTownsend’s ChipmunkUse gentle indirect heat with room to move away from the warm side.© Jim Boone, some rights reserved (CC BY-NC) · CC-BY-NC · VIEW SOURCE ↗
Yellow-pine Chipmunk
QUIETYellow-pine ChipmunkUse a secure, dark, quiet container and minimize handling.© Chris Charlesworth, some rights reserved (CC BY-NC) · CC-BY-NC · VIEW SOURCE ↗
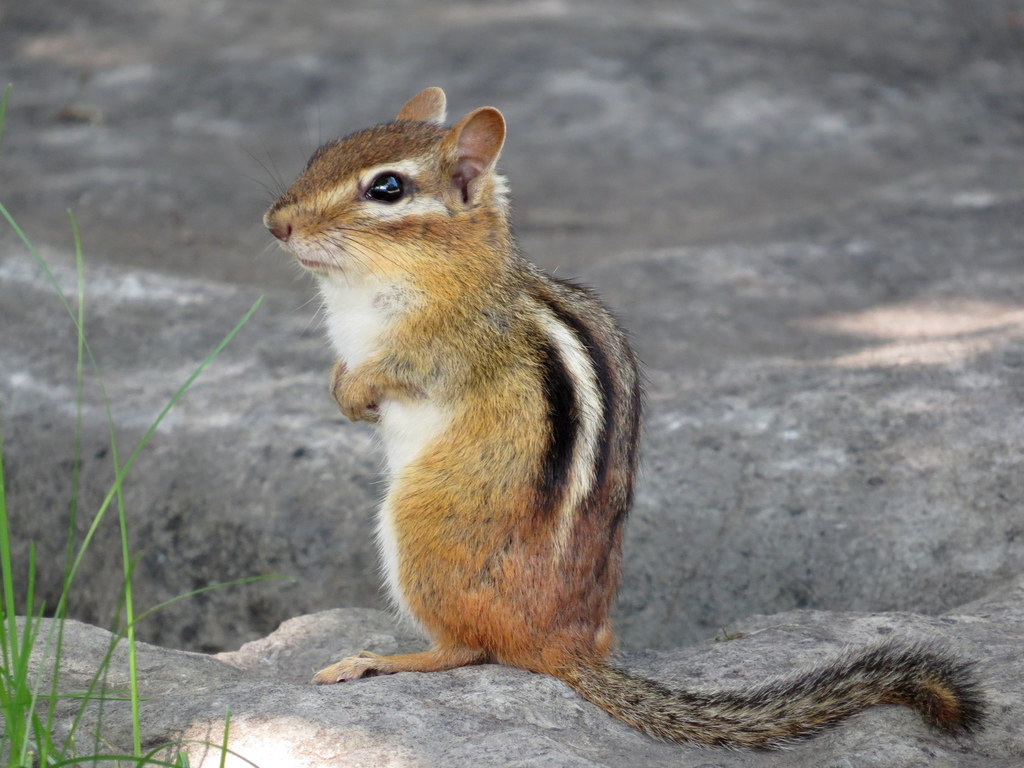
Eastern Chipmunk
TRIAGEEastern ChipmunkCheck breathing, movement, injuries, parasites and responsiveness before oral care.© Mike Leveille, some rights reserved (CC BY-NC) · CC-BY-NC · VIEW SOURCE ↗
Least Chipmunk
NO RUSHLeast ChipmunkA cold or unstable baby should not be pushed into routine feeding.© Cameron Eckert, some rights reserved (CC BY-NC) · CC-BY-NC · VIEW SOURCE ↗
DO NOT FEED A COLD OR SHOCKED CHIPMUNK

Hypothermia and dehydration must be corrected before formula. A tiny chipmunk can aspirate, crash or develop digestive failure when feeding is rushed.

1. Secure, warm, dark and quiet

  1. Use a small secure ventilated box or carrier with smooth fleece/flannel or a T-shirt. Avoid loose loops and frayed towels that catch tiny nails.
  2. Place a heating pad on low under half the container, or use a wrapped warm-water/rice source that cannot leak or burn.
  3. Keep the container away from drafts, loud voices, children and pets.
  4. Do not keep opening the box to check constantly. Stress itself can be dangerous in a small wild rodent.

Hairless neonates need the warmest environment; older furred infants can tolerate less supplemental heat. The animal should feel comfortably warm, not hot, and must always be able to move away from the heat source.

2. Triage before fluids or formula

BREATHING

Watch the chest and nose

Open-mouth breathing, clicking, bubbling, blue/gray color or fluid from the nose requires urgent care.

NEURO

Check coordination

Head tilt, circling, tremors, seizures, repeated falling or inability to right itself are emergency signs.

TRAUMA

Look for hidden injury

Cat punctures can be nearly invisible; dog bites can crush without obvious skin wounds. Both need professional evaluation.

  • Bleeding, punctures, swelling, fractures or a dragging limb
  • Fly eggs/maggots, heavy fleas/ticks or ants
  • Very cold body, limpness, severe weakness or poor response
  • Distended hard abdomen or inability to urinate
  • Jaw injury or misaligned incisors that could prevent future foraging

3. Establish a baseline

Once the chipmunk is safely warm and calm enough to handle briefly, record:

  • Weight in grams on a digital gram scale
  • Eyes open or closed; fur/stripe development
  • Hydration appearance and urine/stool production
  • Respiratory rate/effort and any nasal discharge
  • Ability to stand, walk and grip
  • Injuries, parasites and body condition

Continue weighing at the same time each day during hand-rearing. A trend is more useful than one number.

Sources

Chipmunk rehabilitation decisions should be based on the animal’s age, body weight, medical condition, species, season and release habitat. These references provide the practical and veterinary framework used throughout this pathway.