CHIPMUNK RESCUE · DAY 1 TO RELEASE

Chipmunk Rescue — Day 1 to Release

A complete, species-aware pathway for finding, stabilizing, hand-raising, developing and soft-releasing a North American chipmunk when immediate transfer is not possible.

RESCUE PATHWAY

Choose the stage you need

New rescue? Start at 01. Already caring for the animal? Jump directly to the stage that matches what you need.

VISUAL IDENTIFICATION

Know the group before using the care instructions

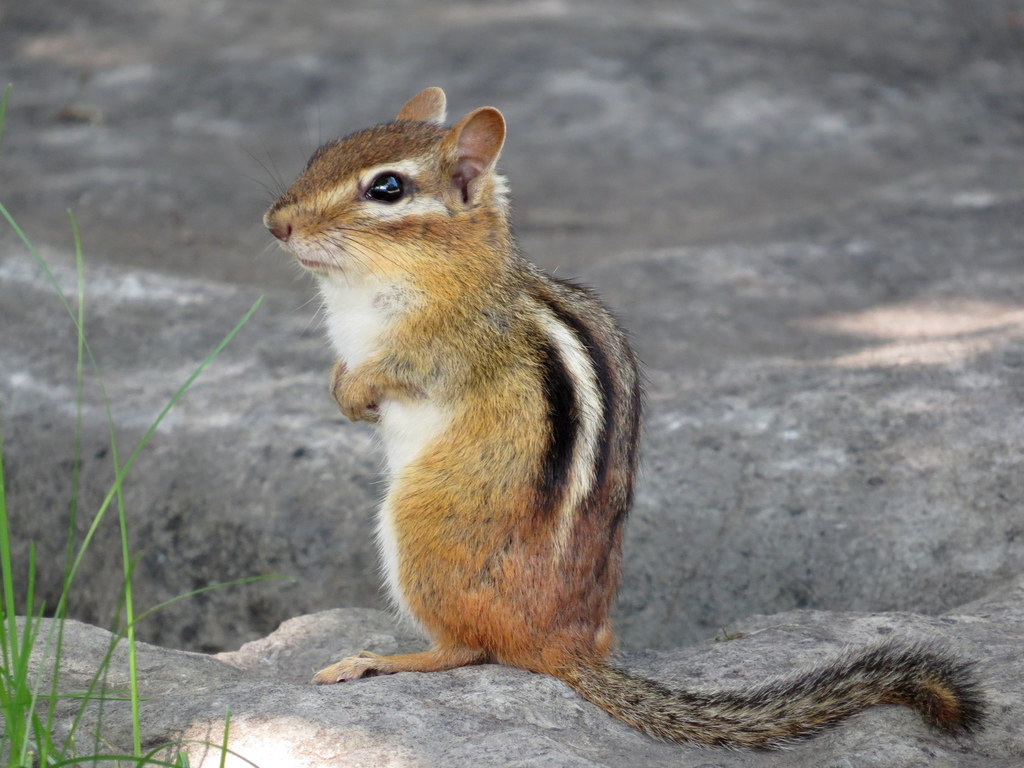
Eastern Chipmunk
REFERENCEEastern ChipmunkSmall burrowers requiring precise feeding, escape-safe housing, caching and release skills.© Mike Leveille, some rights reserved (CC BY-NC) · CC-BY-NC · VIEW SOURCE ↗
Least Chipmunk
REFERENCELeast ChipmunkSmall burrowers requiring precise feeding, escape-safe housing, caching and release skills.© Cameron Eckert, some rights reserved (CC BY-NC) · CC-BY-NC · VIEW SOURCE ↗
Townsend’s Chipmunk
REFERENCETownsend’s ChipmunkSmall burrowers requiring precise feeding, escape-safe housing, caching and release skills.© Jim Boone, some rights reserved (CC BY-NC) · CC-BY-NC · VIEW SOURCE ↗
Yellow-pine Chipmunk
REFERENCEYellow-pine ChipmunkSmall burrowers requiring precise feeding, escape-safe housing, caching and release skills.© Chris Charlesworth, some rights reserved (CC BY-NC) · CC-BY-NC · VIEW SOURCE ↗
WHAT THIS GUIDE IS FOR

This is a complete practical pathway for North American chipmunks when reunification or immediate transfer to a licensed wildlife rehabilitator is not available. Chipmunks are tiny, fast, easily stressed and extremely easy to overfeed or aspirate, so the sequence matters: identify, reunite when possible, warm, hydrate, feed carefully, develop wild behavior and release into the correct habitat.

Why chipmunks need their own rescue pathway

SIZE

Tiny mistakes become big doses

A fraction of a milliliter matters when the patient is this small. Use a 1 mL syringe, control the flow and weigh in grams.

BURROWS

Hiding and digging are survival skills

Chipmunks need ground cover, tunnels, roots, rocks, nest material and opportunities to dig, carry and cache food.

BEHAVIOR

Friendly is not release-ready

Adults are commonly territorial. A successful juvenile becomes fast, wary, independent and interested in cover rather than people.

Start here — the first-hour sequence

  1. Keep the exact find location. The mother will search where the baby was lost, and the eventual release site should be as close to the original territory as practical and legal.
  2. Decide whether the baby is truly orphaned. A chipmunk that is repeatedly above ground, easy to catch, cold, injured or extremely thin needs help; a healthy youngster close to a den may still have an attentive mother.
  3. Attempt reunification during daylight when safe. Keep the baby visible at the exact location or den entrance with gentle warmth underneath and watch from far away.
  4. Intervene immediately for cat/dog contact, bleeding, broken bones, neurologic signs, severe weakness, flystrike or breathing trouble.
  5. Warm before feeding. A cold chipmunk should not receive formula.
  6. Use the stages in order. If professional placement is delayed, do not skip directly to formula or release because the animal looks small and active.
START STAGE 1 — ASSESS & REUNITE →

Development at a glance

Approximate ageTypical appearance / behaviorMain care transition
Birth–1 weekNaked, eyes closed, about 1.5–2 in longConstant warmth, tiny controlled feeds, elimination stimulation
1–2 weeksStripes appearing; eyes closed; more activeContinue close temperature control and frequent formula
2–3 weeksPattern developed; miniature-adult appearance; eyes closedFormula remains primary; improve secure containment
3–4 weeksEyes and ears open; mobility jumps quicklyIntroduce rodent block/natural solids; begin reducing heat gradually
4–7 weeksVery active; chewing, carrying, caching and exploring increaseProgressive weaning, larger enclosure, natural materials and foraging
7–8+ weeksThick coat, extremely fast and increasingly independentPre-release enclosure and acclimation; release usually not before about 9–10 weeks