
CHIPMUNK RESCUE · STAGE 7

Stage 7 — Burrowing, Foraging & Pre-Release Conditioning

Move the chipmunk into a secure naturalistic enclosure that develops digging, escape, caching, weather acclimation and avoidance of people.

AT A GLANCEDo these things before moving on
OUTDOOR ACCLIMATIONUse secure outdoor conditioning appropriate to the species and season

Use secure outdoor conditioning appropriate to the species and season.

SHELTERProvide natural cover, nest/burrow space and weather protection

Provide natural cover, nest/burrow space and weather protection.

SKILLSThe animal should forage, hide, move and avoid people normally

The animal should forage, hide, move and avoid people normally.

VISUAL GUIDE

See the important points for this stage

Yellow-pine Chipmunk
OUTDOOR ACCLIMATIONYellow-pine ChipmunkUse secure outdoor conditioning appropriate to the species and season.© Chris Charlesworth, some rights reserved (CC BY-NC) · CC-BY-NC · VIEW SOURCE ↗
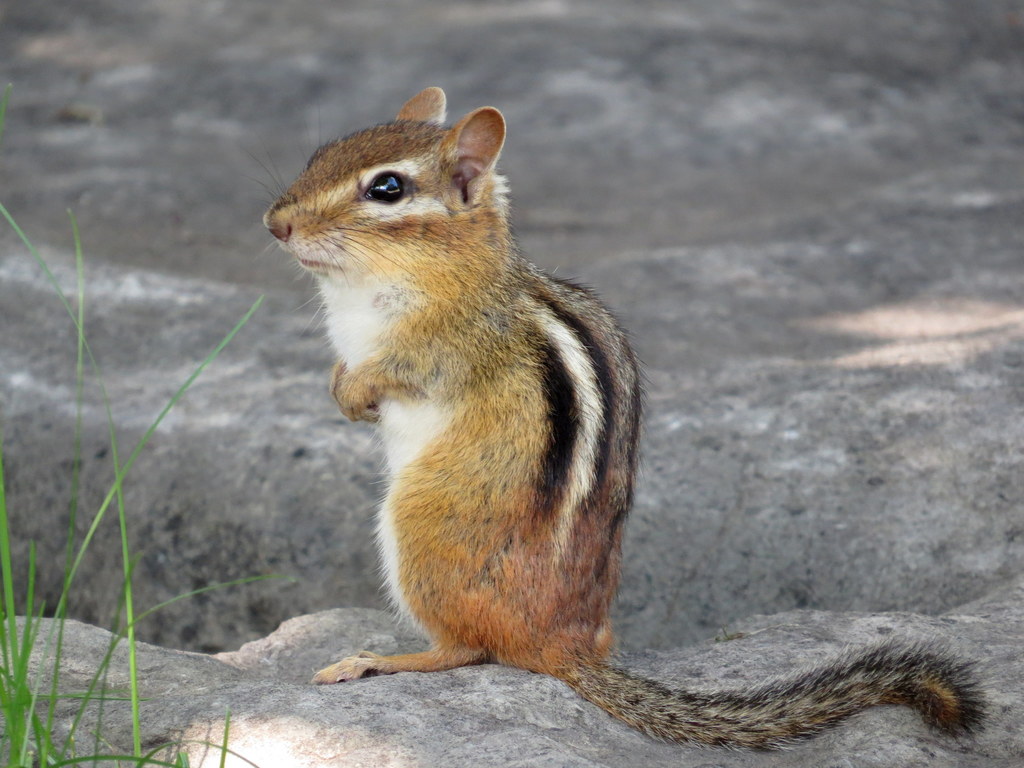
Eastern Chipmunk
SHELTEREastern ChipmunkProvide natural cover, nest/burrow space and weather protection.© Mike Leveille, some rights reserved (CC BY-NC) · CC-BY-NC · VIEW SOURCE ↗
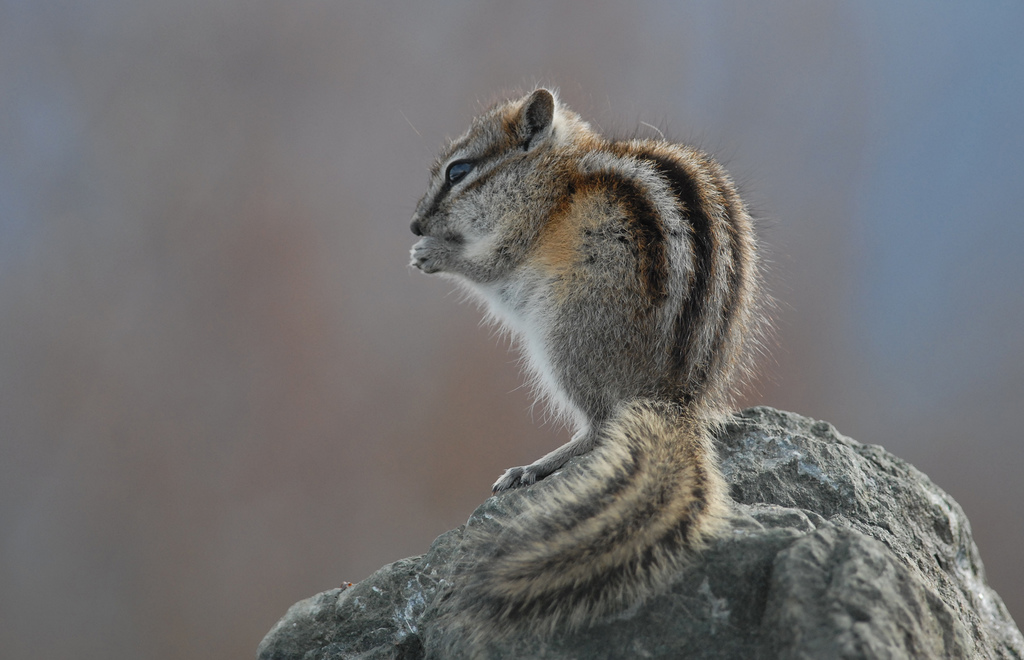
Least Chipmunk
SKILLSLeast ChipmunkThe animal should forage, hide, move and avoid people normally.© Cameron Eckert, some rights reserved (CC BY-NC) · CC-BY-NC · VIEW SOURCE ↗
Townsend’s Chipmunk
PREDATOR SAFETYTownsend’s ChipmunkConditioning must protect the animal from pets and wild predators while skills develop.© Jim Boone, some rights reserved (CC BY-NC) · CC-BY-NC · VIEW SOURCE ↗
PRE-RELEASE SHOULD FEEL LIKE CHIPMUNK HABITAT

The goal is not simply more cage space. The chipmunk must practice digging, hiding, climbing low structure, carrying food, caching, foraging, avoiding predators and living without constant human attention.

1. Move to a large escape-proof enclosure

The Ottawa-Carleton protocol uses a large cage of roughly 2 ft × 4 ft × 4 ft with ½-inch welded wire and a floor-level nesting box as a practical pre-release reference. For tiny western species, verify that every gap is small enough to prevent escape.

  • Predator-proof roof, sides, doors and floor/perimeter
  • Dry nest box at ground level with natural nesting material
  • Soil/leaf litter or deep digging trays, logs, roots, rocks and tunnels
  • Branches and low climbing structure without turning the enclosure into a tree-squirrel cage
  • Shade, rain protection and excellent drainage
  • No loose string, looped fabric or wire points that can catch feet

2. Condition the behaviors that matter outside

RETREAT

Disappear quickly

Disturbance should send the chipmunk toward cover, tunnel or nest — not toward the caregiver.

FORAGE

Search and cache

Scatter and hide foods through natural material instead of delivering meals at one predictable bowl.

WEATHER

Acclimate gradually

Expose the animal to normal day length and local temperatures while maintaining dry shelter and a safe retreat.

3. Move acclimation to the future release property

When feasible and legal, the final pre-release enclosure should be on or adjacent to the intended release site. This allows the chipmunk to experience the local sounds, smells, weather, predators and food availability before the door opens.

Keep raccoons, cats, dogs and other animals away from the enclosure. A predator repeatedly climbing or striking the cage can cause severe stress even if it cannot physically enter.

4. Human avoidance

  • Stop hand-feeding as soon as it is no longer medically necessary.
  • Service food/water efficiently and leave.
  • Do not call the chipmunk, encourage approach or offer treats through the mesh.
  • Use natural cover so the animal can avoid being seen.
  • A release-ready chipmunk should be difficult to catch and should not calmly sit at the door waiting for a person.

Sources

Chipmunk rehabilitation decisions should be based on the animal’s age, body weight, medical condition, species, season and release habitat. These references provide the practical and veterinary framework used throughout this pathway.